OPTIMIZE YOUR GRAPHIC DESIGN WORKFLOW ✽
By: Kaysar Daou

For any Graphic design project, it’s essential to have a smooth and efficient workflow to produce quality work.
Most graphic designers agree that having a structured workflow leads to better design outcomes and improved productivity.
In this article, we’ll explore the various steps involved in an optimal graphic design workflow and how you can incorporate them into your design process.
1- Client Brief
The first step in any design project is gathering client requirements.
This is crucial as it sets the foundation for the entire project and helps you understand the client’s objectives, target audience, and any specific design preferences they may have. Gathering client requirements is vital to creating a design that truly meets their needs.
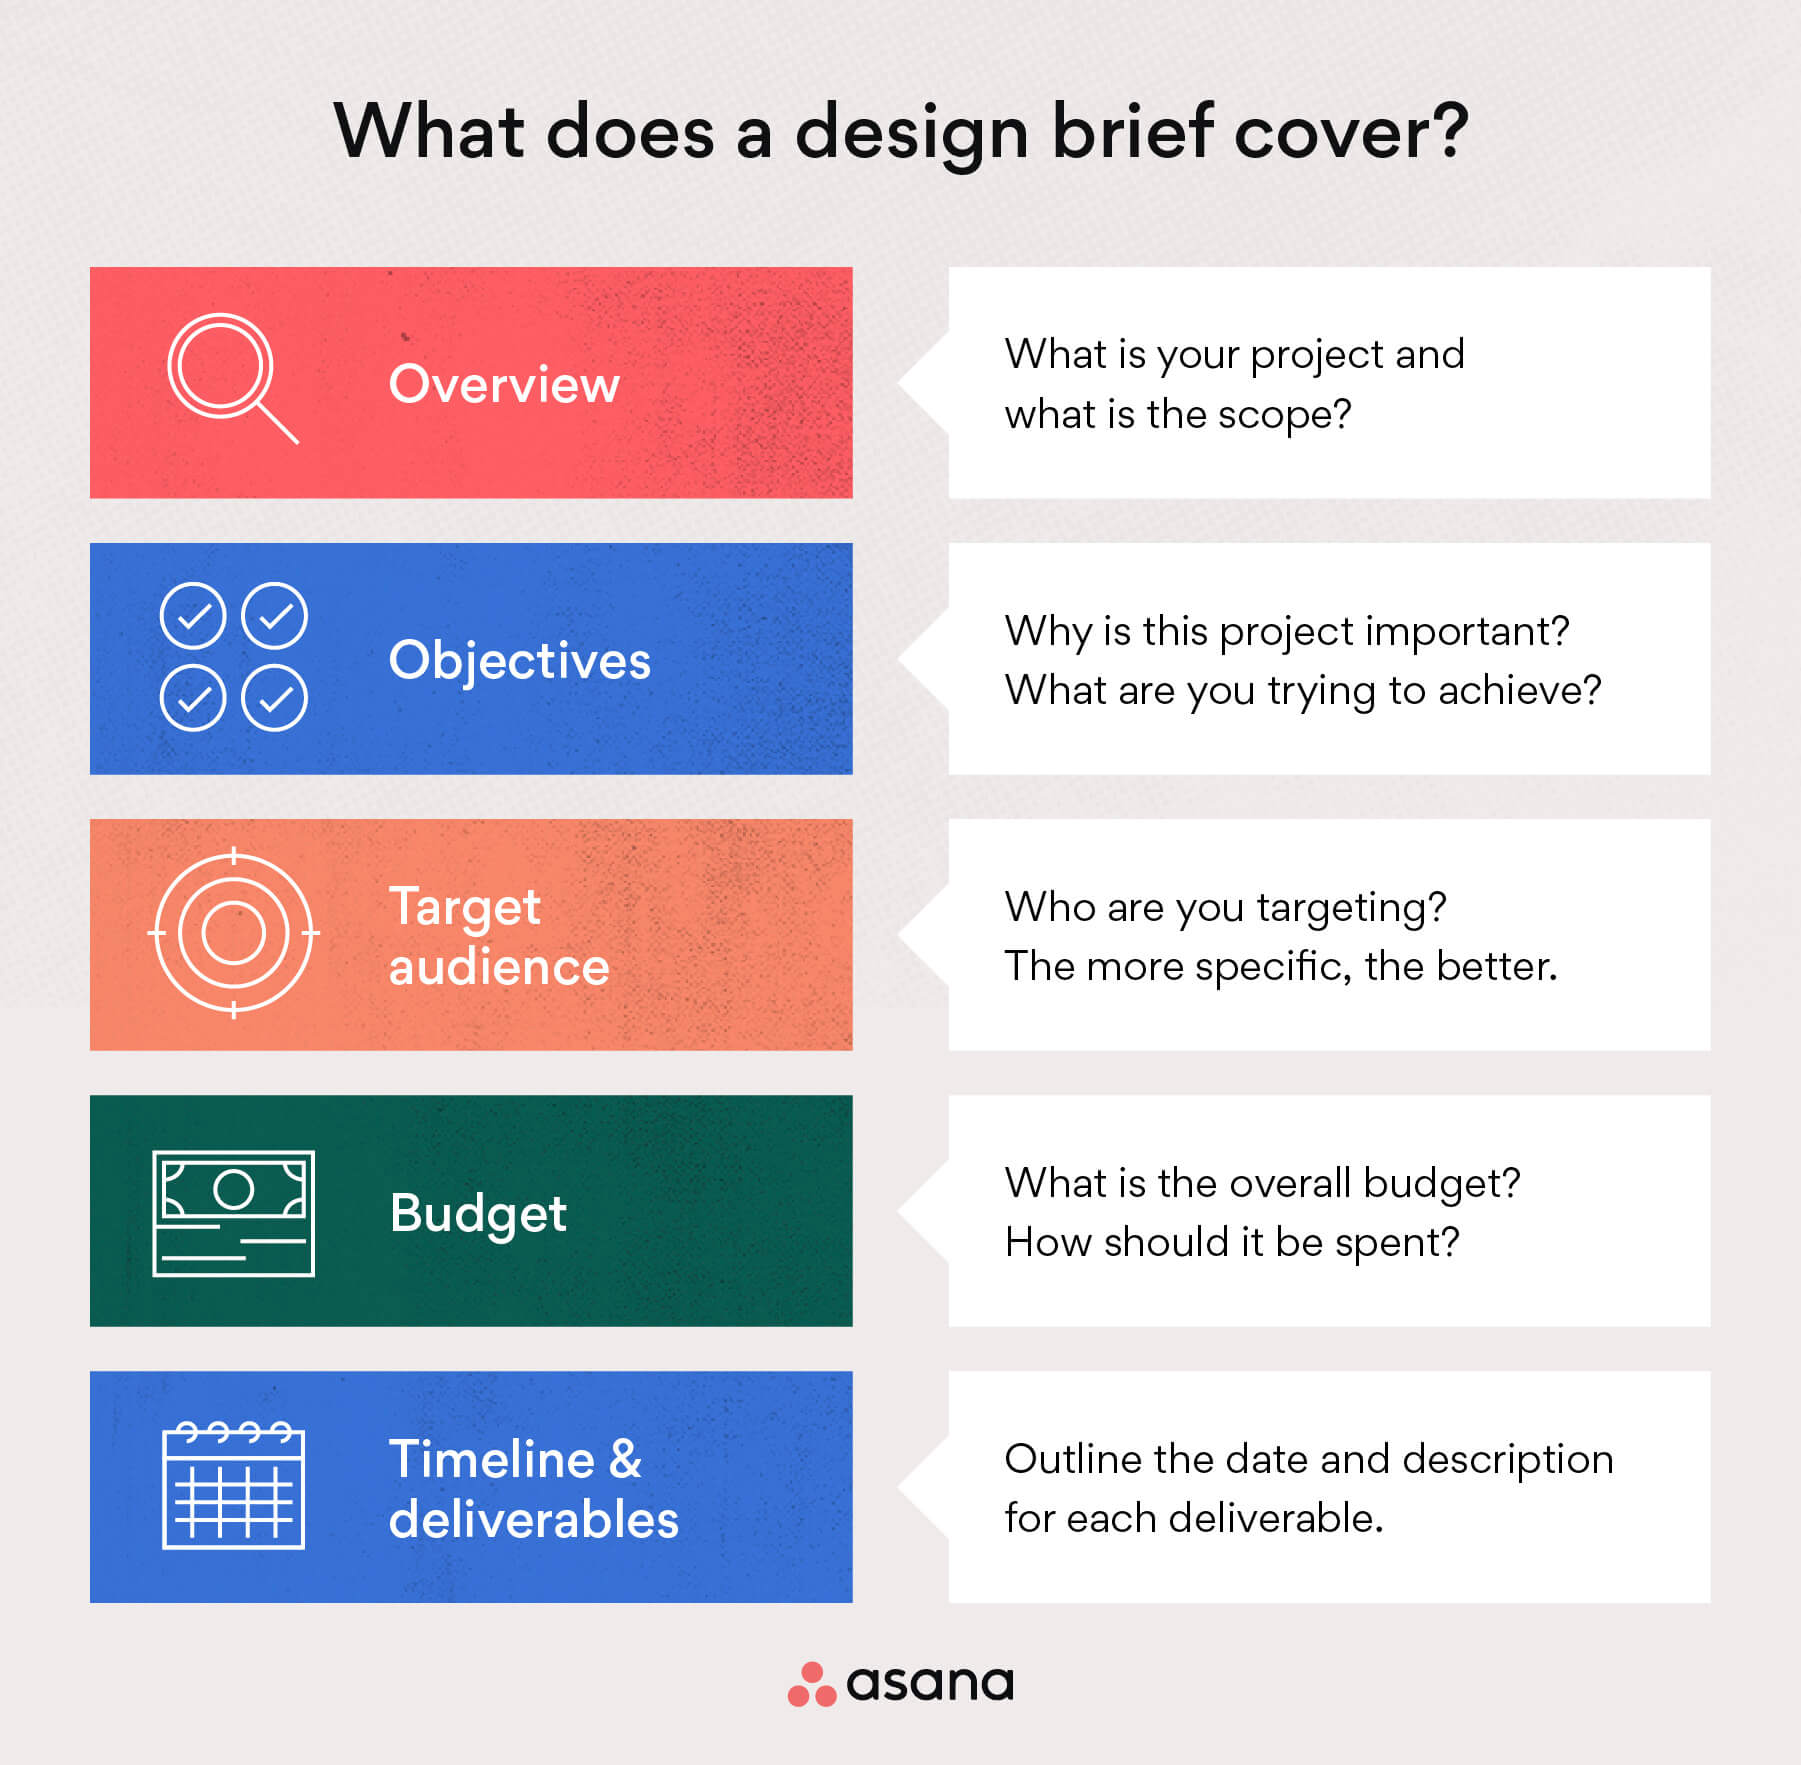
To ease the process of collecting the requirements, you’ll need to create a design brief. A design brief is a document that outlines the requirements and objectives of a design project.
A comprehensive design brief should include the following information:
- Project Overview
- Client Information
- Design Requirements
- Budget and Resources
- Deliverables
- Timeline
- Contact Information
HubSpot offers a comprehensive guide on writing design briefs, as well as various free brief templates to download and utilize.
 Source: https://blog.uxtweak.com/design-brief/
2- Research
Once you clearly understand the project requirements, it’s time to do your research.
This includes studying the client’s industry, competitors, and target audience to gain insights into what design elements and styles will resonate with them.
This research will inform your design choices and help you create visuals that stand out from the competition.

Here are some tips for conducting effective research in your design projects:
- Know Your Target Audience:
- Identify who the target audience is and what they care about
- Study their behavior, preferences, and pain points
- Use this information to inform your design choices and create visuals that resonate with them
- Study Competitors:
- Analyze your client’s competitors and their design strategies
- Look at their strengths and weaknesses, and find ways to differentiate your design
- Use this information to inform your design choices and create visuals that stand out
- Get Inspired:
- Look outside your industry and gather inspiration from a variety of sources
- Explore design trends and styles, and keep up with the latest design developments
- Use this information to inform your design choices and create visuals that are fresh and unique
- Use Research Tools:
- Utilize research tools, such as surveys, focus groups, and customer feedback to gather valuable insights
- Use this information to inform your design choices and create visuals that truly meet the client’s needs
- Collaborate with the Client:
- Work closely with the client to understand their needs and preferences
- Encourage open communication and collaboration to ensure the design meets their expectations
3- Sketching and Brainstorming
The next step is to start sketching and experimenting with different design concepts.
This is where you can unleash your creativity and come up with unique and eye-catching designs. Sketching is a crucial part of the design process as it allows you to experiment with different ideas and test various concepts quickly.
Check out Proof hub’s list of brainstorming techniques!

4- Implementing and Designing
Once you’ve settled on a design concept, it’s time to start putting it all together in your design software of choice.
During this stage, you’ll fine-tune your design, add any necessary text or graphics, and make sure everything is aligned and balanced.
It’s essential to take your time during this stage and pay close attention to the details, as these can make or break a design.

5- Presenting
The next step is to present your design to the client.
This is where you’ll get feedback and make necessary changes to the design. Listening to the client’s input and being open to making changes is essential. This will help you create a design that truly meets their needs and exceeds their expectations.
Here are some tips for presenting your projects effectively:
- Start with a clear and concise overview of the project and its objectives.
- Tailor your presentation to your audience, highlighting the features and benefits that will be most relevant to them.
- Use data and research to support your design decisions. Presenting data such as user research, analytics, and testing results can help solidify the effectiveness of your designs.
- Use technology to enhance your presentation. Utilize tools like animations, interactive elements, and virtual reality to bring your designs to life and make them more engaging for your audience.
- Create a robust and consistent brand identity throughout your presentation. Use a consistent color palette, typography, and imagery to create a cohesive look and feel that aligns with your brand.
- Use storytelling techniques to make your presentation more engaging. Use anecdotes, analogies, and other creative storytelling techniques to help your audience connect with your designs on an emotional level.
- Have a backup plan. Technology can be fickle, so make sure to have a backup plan in case your technology fails on presentation day.
- Be prepared to answer questions and have a dialogue. Be ready to talk about your designs and be open to feedback and suggestions from your audience.

6- Refining and Handing Off
Finally, it’s time to move on to the final stage of the workflow – production.
This is where you’ll output the final files in the correct format, ready for use. During this stage, it’s essential to ensure that the final files are of the highest quality and are free of any errors or glitches.

To wrap things up, an efficient graphic design workflow is crucial for creating quality designs and improving your productivity.
Each step is critical to ensuring a smooth and successful project outcome, from gathering requirements to final production. So, take the time to map out your design process and ensure a structured workflow.


